myPractice has been rebranded Bp Allied, a product of Best Practice Software.
Support is available Monday to Friday, 9am to 5pm AEST Version 4.18 Published 5 December 2019
Email: alliedsupport@bpsoftware.net Click RemoteSupport from within myPractice for assistance Phone: 1300 40 1111 (in Australia) or 0800 40 1111 (in New Zealand)
Appointment Book
Set the options for the default display of the Appointment Book.
Show Appointment Book on Startup
This loads the appointment book and selects the current day when myPractice is started.
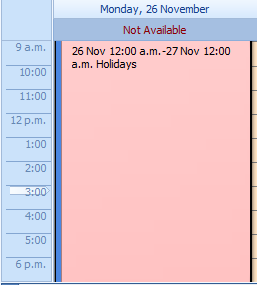
Allows entries for past dates to be entered into the appointment book retrospectively. By default this is switched off to prevent accidental appointment bookings being recorded to the incorrect date.
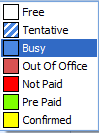
If this is checked the Appointment Book will display the Appointment in the colour defined for the Consultation Type. If unchecked the Location colour will be displayed. Consultation Colours can be set in Data Maintenance > Products and Services.
Using this option can slow down the appointment book load/refresh time
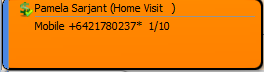
This displays the total number of appointments available and the number of appointments used for the current referral. In this example, this is the first of ten appointments available to the client.
Using this option can slow down the appointment book load/refresh time
Set your work hours which will be displayed within the Appointment Book by selecting your Start Time and End Time. Any appointments made outside of these times will alert the person making the appointment that it is outside your normal work hours.
If your work week includes Saturday (or Sunday, or both) then selecting this will include Saturday or Sunday in the Work Week View when selected in the Appointment Book.
When you make an appointment it will always show as the duration you set here, by default, unless manually changed or set for specific Consultation Types within System > Data Maintenance > Products and Services.
If checked a sound will be displayed when you receive a pop up message. This sound can be changed by browsing for your own .wav file from the location field.


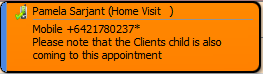
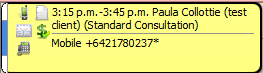
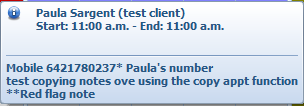 (displayed on hovering over appt in Appt Book screen)
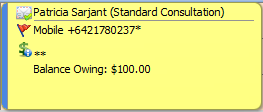